If you’re cycling in Singapore—whether it’s a leisurely ride along East Coast Park or a daily commute through city streets—understanding bike maintenance is not just a skill; it’s a necessity. Among the many possible roadside mishaps, a flat tire is one of the most common and frustrating issues cyclists face. No matter how cautious you are or how frequently you service your bicycle, a flat can happen unexpectedly due to factors like road debris, worn tires, or even improper inflation. Having the confidence to fix a flat on your own means you’re not left helpless in the middle of your route, especially in areas where immediate help might be far off or bike shops are closed.
In this comprehensive guide, we’ll walk you through every stage of the repair process—from identifying a flat to getting your bike rolling again—so that you’re never caught unprepared. Whether you’re a casual weekend cyclist or a hardcore commuter, mastering this aspect of bike maintenance will help you ride smarter, safer, and more confidently in Singapore’s urban landscape.
Why Fixing a Flat Is a Crucial Part of Bike Maintenance
The ability to fix a flat tire is often seen as a basic skill, but it plays a massive role in your broader bike maintenance routine. Riding on under-inflated or punctured tires can quickly lead to more severe issues, such as damaged rims or unstable handling, which not only makes your ride unsafe but can also result in expensive repairs. In Singapore, where cyclists frequently share roads with vehicles, buses, and pedestrians, it’s essential to keep your bike in peak condition to avoid unnecessary accidents.
Moreover, because the city’s weather is hot and humid year-round, tire pressure can fluctuate more rapidly than in temperate climates. These pressure shifts increase the likelihood of pinch flats or blowouts if you’re not careful. That’s why regular tire inspections and proactive bike maintenance checks can go a long way in preventing these scenarios altogether. Fixing a flat isn’t just about reacting to a problem—it’s about developing the mindset and habit of preventative care, which is the heart of all effective bike maintenance.
What Tools Should Be in Your Bike Maintenance Kit?
Carrying the right tools can mean the difference between a quick roadside fix and a frustrating walk home in the sweltering Singapore heat. A well-prepared bike maintenance kit should be compact yet comprehensive. At a minimum, your kit should include:
- Two reliable tire levers for removing the tire from the rim.
- A spare inner tube or a patch repair kit if you prefer a lightweight option.
- A portable pump or CO2 inflator to reinflate the tire quickly.
- A multitool, especially if your wheels aren’t quick-release.
- Optional gloves to keep your hands clean during repairs.
These tools can be stored in a saddlebag or a small handlebar pouch. By incorporating this toolkit into your regular ride setup, you’ll be ready to handle flats and other small repairs—a sign of well-rounded bike maintenance.
Step 1: Detecting the Flat
The first step in fixing a flat is recognizing the problem early. Often, you’ll feel a change in your ride before you see it. You might notice that your bike feels sluggish or unstable, or that you’re working harder to pedal. Stop safely and examine your tires. Press down with your thumb—if the tire feels soft or saggy, it’s likely flat. Sometimes, flats are slow leaks caused by tiny punctures, which can be harder to spot immediately.
In Singapore’s urban settings, flat tires are commonly caused by broken glass, small stones, or even industrial staples found along busy roads or in construction zones. Being able to quickly assess your tire condition is an essential part of bike maintenance because it allows you to intervene before further damage occurs. Riding on a fully deflated tire risks damaging your rim, which is a much costlier problem.
Step 2: Removing the Wheel
Once you’ve identified the flat, the next task is to remove the affected wheel. This process will vary depending on whether your bike has quick-release axles or thru-axles, and whether the flat is in the front or rear wheel. Start by shifting to the smallest rear gear if it’s the back tire, as this makes wheel removal and reinstallation easier. For bikes with rim brakes, open the brake caliper to allow more space between the pads.
Then, release the axle and gently pull the wheel out of the dropouts. For electric bikes or bikes with hub motors, the process may include disconnecting a motor cable—so always familiarize yourself with your own model during regular bike maintenance sessions. Removing the wheel properly without forcing components is a delicate but important skill that lays the foundation for all other types of bike maintenance.
Step 3: Let the Air Out Completely
Even if your tire seems fully flat, there may still be a small amount of trapped air inside, especially around the valve area. Press down on the valve to ensure the inner tube is entirely deflated. This step makes it much easier to manipulate the tire bead and remove it from the rim.
Though it might seem trivial, this is a crucial part of flat repair and a reminder of how attention to detail enhances your overall bike maintenance efficiency. Skipping this step can lead to torn tire beads or pinched tubes during reassembly—two things that will cost you time and money.
Step 4: Remove the Tire
Using your tire levers, wedge one underneath the bead (the edge of the tire) and hook it over the rim. Use a second lever to work your way around the wheel until one side of the tire is fully off. This will expose the inner tube inside. Avoid using metal levers, as these can damage the rim or tire during the process.
This task can feel a bit frustrating for beginners, but with practice, it becomes second nature. It’s a classic bike maintenance skill that serves you well beyond flat repair, such as when replacing worn tires or switching to tubeless setups.
Step 5: Remove the Inner Tube
Pull the inner tube out gently, starting opposite the valve stem. Once you reach the valve, push it out through the hole in the rim. At this point, you can either identify the puncture in the tube (if you plan to patch it) or discard it and insert a new one.
If patching, inflate the tube slightly and listen for air escaping. You can also dip it in water and look for bubbles. This diagnostic skill is a core aspect of bike maintenance, helping you pinpoint the exact problem and develop a more intimate understanding of your bike’s condition.
Step 6: Inspect the Tire for Foreign Objects
Before you install a new or patched tube, inspect the inside of the tire thoroughly. Run your fingers carefully along the inner surface to feel for sharp debris such as thorns, wires, or pieces of glass. These are frequent causes of repeat flats in Singapore’s high-traffic and construction-heavy zones.
Skipping this step is a common bike maintenance mistake that can lead to a second flat almost immediately after the first repair. Taking the time to ensure the tire is clean and clear of obstructions ensures your work holds up over time.
Step 7: Patch or Replace the Tube
Deciding whether to patch or replace depends on the size of the puncture and how prepared you are. For small holes, patch kits work well. Roughen the tube surface around the hole, apply glue, let it dry until tacky, and press the patch firmly into place.
However, if you’re dealing with multiple holes or larger tears, a replacement tube is the better option. Having both patch and replacement options in your bike maintenance kit means you can adapt based on the situation, which is especially valuable during longer rides or in remote areas of Singapore.
Step 8: Reinstall the Tube and Tire
Lightly inflate the new or patched tube to give it some shape, which makes it easier to work with. Insert the valve into the rim hole, then tuck the tube inside the tire evenly. Re-seat the tire bead into the rim, starting opposite the valve and working your way around. Be careful not to pinch the tube between the rim and the tire.
This step requires patience, especially with tighter tires. Ensuring a clean and even fit is an often overlooked part of bike maintenance, but it directly affects ride comfort and tire performance.
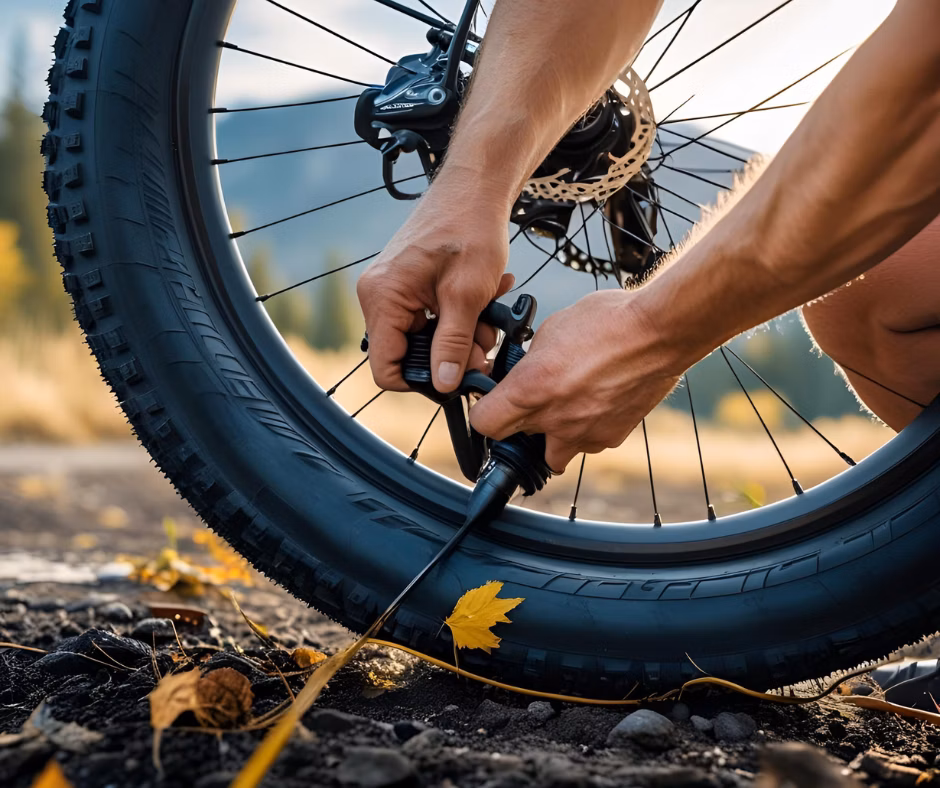
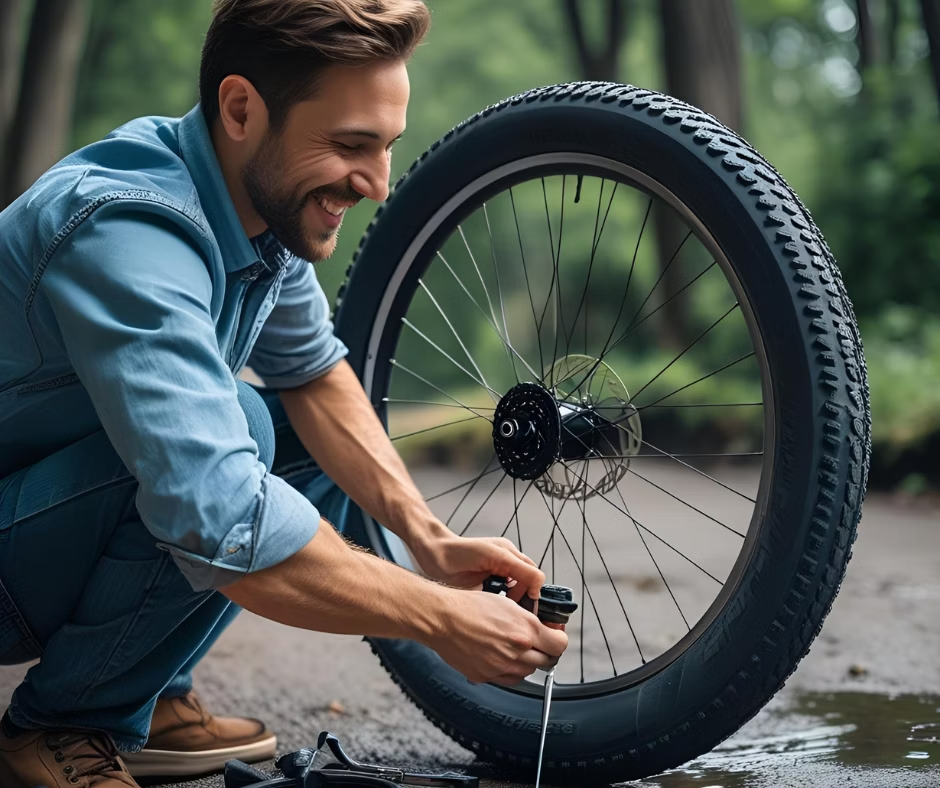
Step 9: Inflate the Tire
Using your pump or CO2 inflator, fill the tire to the recommended PSI listed on the sidewall. Don’t overinflate—especially in Singapore’s hot climate, where rubber expands and pressure increases during the day.
After inflating, check that the tire is seated properly on the rim and that there’s no wobble. Also, make sure the tube hasn’t slipped under the bead. Doing so prevents dangerous blowouts and is a mark of thorough bike maintenance.
Step 10: Reattach the Wheel and Test
Place the wheel back on your bike, ensuring the axle is properly seated and secure. For rear wheels, ensure the chain wraps around the correct cog before tightening. Reconnect your brakes and test the tire rotation for smoothness. Spin the wheel and make sure it doesn’t rub against the frame or brake pads.
Once you’ve reassembled everything, give your entire bike a quick once-over—double-checking tire pressure, brake responsiveness, and wheel alignment. These post-repair checks are part of holistic bike maintenance and ensure your bike is safe for riding again.
Preventing Future Flats
While fixing a flat is a vital skill, preventing them in the first place is equally important. Here are key strategies:
- Use puncture-resistant tires or tire liners for daily commuting.
- Keep your tires inflated to the correct pressure as part of weekly bike maintenance.
- Avoid riding through debris-filled paths or close to construction zones.
- Replace worn tires before they become too thin to protect against sharp objects.
Incorporating these practices into your routine means you’ll spend less time fixing problems and more time enjoying your rides.
Conclusion
A flat tire can be a major inconvenience, but with the right knowledge and tools, it becomes a minor bump in your cycling journey. By mastering this fundamental aspect of bike maintenance, you’re investing in your independence and safety as a cyclist. Singapore’s urban landscape—with its smooth PCNs, crowded city paths, and unpredictable weather—demands that riders be prepared for anything.
Keep your bike maintenance kit ready, learn the repair process inside-out, and approach every flat as an opportunity to improve your skills. Whether you’re riding to work, exploring Marina Bay, or just cycling through your neighborhood, being able to fix a flat means you’re ready for the road ahead.